×
- Live Chat
- 1-888-788-8214


My Garage
My Account
Cart
Genuine Hyundai Excel Camshaft
Cam- Select Vehicle by Model
- Select Vehicle by VIN
Select Vehicle by Model
orMake
Model
Year
Select Vehicle by VIN
For the most accurate results, select vehicle by your VIN (Vehicle Identification Number).
2 Camshafts found
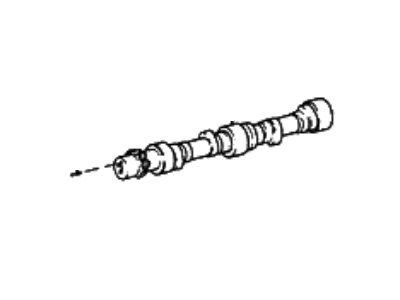
Hyundai Excel Camshaft Assembly
Part Number: 24100-21310$151.08 MSRP: $212.26You Save: $61.18 (29%)Ships in 1-3 Business DaysHyundai Excel Camshaft Assembly
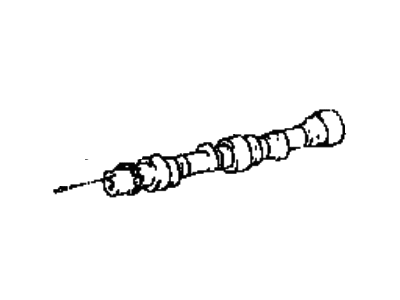
Part Number: 24100-24500$187.02 MSRP: $262.76You Save: $75.74 (29%)Ships in 1-3 Business Days
Hyundai Excel Camshaft
If you are looking for affordable high-quality OEM Hyundai Excel Camshaft, then you have come to the prime place. Our website provides a large amount of genuine Hyundai Excel Camshaft at unbeatable prices. All our parts come backed with the manufacturer's warranty.
Hyundai Excel Camshaft Parts Questions & Experts Answers
- Q: How to remove and install Camshaft on 2011 and earlier Hyundai Excel?A: For SOHC models, begin by disconnecting the negative battery cable and draining the cooling system before removing the upper radiator hose from the thermostat housing. Next, take off the valve cover and remove the Rocker Arm assemblies. For 1994 and earlier models, the distributor should be removed, while for 1995 and later models, the ignition coil assembly is to be taken out. If applicable, remove the fuel pump. Proceed to take off the Timing Belt and camshaft sprocket. For 1994 and earlier models, remove the retaining screws and rear cover from the Cylinder Head, ensuring to remove the lower bolts first, followed by the upper bolts, and finally the thrust case retaining bolt. Slide the camshaft and thrust case out, taking care not to damage the camshaft journal bores. For 1995 and later models, remove the camshaft bearing caps, noting their positions for reinstallation, and lift out the camshaft(s). Clean all components thoroughly and inspect the camshaft bearing surfaces and lobes for wear. Measure the camshaft lobe heights and journal diameters, replacing the camshaft if measurements are out of limits. Inspect rocker arms and hydraulic lash adjusters, and measure the endplay clearance for both model types, replacing components as necessary. For installation, lubricate the camshaft bearings, position the camshaft(s) in the cylinder head, and install the bearing caps, ensuring all mating surfaces are clean and dry. Install a new camshaft oil seal, rotate the camshaft to the correct position, and install the timing belt and sprocket. Reinstall the distributor if equipped, followed by the rocker arm assemblies, and check valve clearances before securing the valve cover. Refill the cooling system and reconnect the battery cable, warming the engine to check valve clearances again. For DOHC models, inspect the camshaft and lifters before installation, checking for wear and ensuring the hydraulic lifters are functioning properly. Remove the valve cover, timing belt cover, timing belt, and camshaft timing belt sprocket, then loosen the camshaft bearing caps in a criss-cross pattern and remove them along with the camshafts and timing chain. Clean and inspect the timing chain and sprockets, ensuring all components are in good condition. Measure camshaft lobe heights and bearing surfaces, checking for wear limits. Install the lifters into their respective bores, lubricate the camshaft and bearing journals, and align the timing marks on the camshaft sprockets according to the model year. Finally, lower the camshafts and timing chain into position, install the bearing caps, and tighten them evenly before installing the timing belt and completing the installation in reverse order.


