×
- Live Chat
- 1-888-788-8214


My Garage
My Account
Cart
Genuine Hyundai Santa Fe Timing Belt
Engine Timing Belt- Select Vehicle by Model
- Select Vehicle by VIN
Select Vehicle by Model
orMake
Model
Year
Select Vehicle by VIN
For the most accurate results, select vehicle by your VIN (Vehicle Identification Number).
12 Timing Belts found
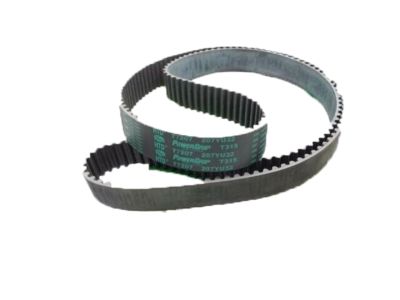
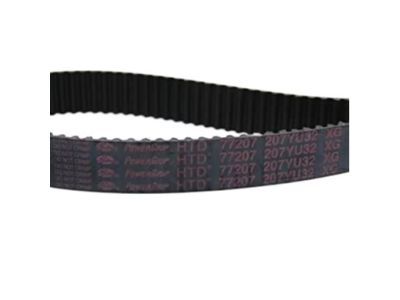
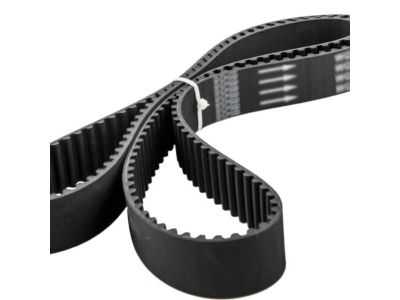
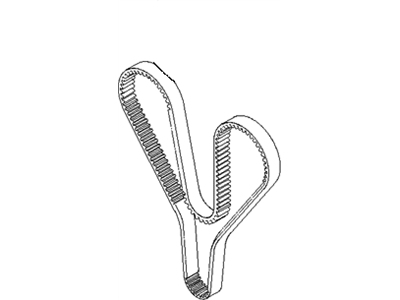
Hyundai Santa Fe Valve Timing Belt
Part Number: 24312-37500$101.27 MSRP: $142.27You Save: $41.00 (29%)Ships in 1-2 Business DaysHyundai Santa Fe Valve Timing Belt
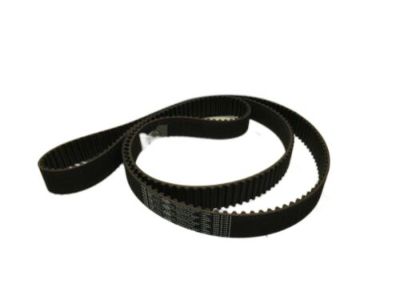
Part Number: 24312-39800$101.37 MSRP: $142.42You Save: $41.05 (29%)Ships in 1-3 Business DaysHyundai Santa Fe Valve Timing Belt
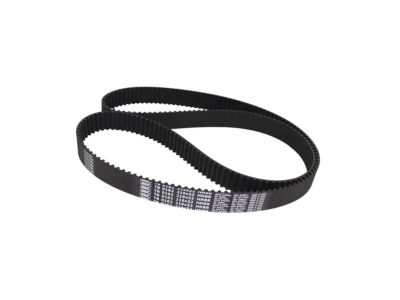
Part Number: 24312-3E500$170.17 MSRP: $239.08You Save: $68.91 (29%)Ships in 1-3 Business DaysHyundai Santa Fe Valve Timing Belt
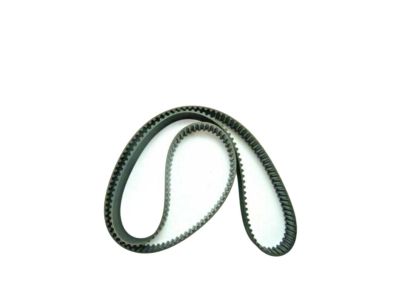
Part Number: 24312-37400$103.65 MSRP: $142.27You Save: $38.62 (28%)Ships in 1-3 Business DaysHyundai Santa Fe Valve Timing Belt
Part Number: 24312-37100$103.65 MSRP: $142.27You Save: $38.62 (28%)Ships in 1-3 Business DaysHyundai Santa Fe Valve Timing Belt
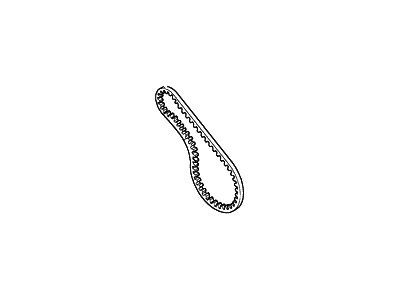
Part Number: 24312-38220$92.08 MSRP: $129.37You Save: $37.29 (29%)Ships in 1-3 Business DaysHyundai Santa Fe Balance Timing Belt
Part Number: 23356-38020$27.85 MSRP: $38.79You Save: $10.94 (29%)Ships in 1-3 Business DaysHyundai Santa Fe Valve Timing Belt
Part Number: 24312-3E100$174.17 MSRP: $239.08You Save: $64.91 (28%)Ships in 1-3 Business DaysHyundai Santa Fe Balance Timing Belt
Part Number: 23356-38011$28.62 MSRP: $38.79You Save: $10.17 (27%)Ships in 1-3 Business DaysHyundai Santa Fe Valve Timing Belt
Part Number: 24312-38210$92.08 MSRP: $129.37You Save: $37.29 (29%)Ships in 1-3 Business DaysHyundai Santa Fe Balance Timing Belt
Part Number: 23356-38000$28.62 MSRP: $38.79You Save: $10.17 (27%)Ships in 1-3 Business DaysHyundai Santa Fe Balance Timing Belt
Part Number: 23356-38010$28.62 MSRP: $38.79You Save: $10.17 (27%)Ships in 1-3 Business Days
Hyundai Santa Fe Timing Belt
If you are looking for affordable high-quality OEM Hyundai Santa Fe Timing Belt, then you have come to the prime place. Our website provides a large amount of genuine Hyundai Santa Fe Timing Belt at unbeatable prices. All our parts come backed with the manufacturer's warranty.
Hyundai Santa Fe Timing Belt Parts Questions & Experts Answers
- Q: How to remove and install the Timing Belt and Sprocket on 2007 and earlier V6 Hyundai Santa Fe?A: Prudence is called for here, as the timing system is intricate, and one wrong move may result in complete engine destruction; this operation's execution should be left to the most skilled mechanics, and even they should seek help if they have doubts. Start with the removal of the negative battery terminal followed by the removal of the engine cover. For the 2.7L engine, take off the tension on the drivebelt, remove both the crankshaft and the timing belt pulleys and the both the upper and lower timing belt covers, Then position the engine at the TDC of the number one cylinder and ensure that all the timing marks are lined up. If the belt is going to be re-used, it is a good idea to make direction and alignment marks on it. Lift off the timing belt tensioner and the timing belt also the camshaft sprockets once the valve covers are on. Unfasten the lug nuts, jack up the car, and take off the right front wheel and the inner fender apron of the 2007 and earlier 3.5L engine. Support the engine, then unplug the hose for the power steering, and take off the upper timing belt cover, drive belt and the crankshaft pulley. Remove alternator nuts and disconnect the wires and taughtly remove engine mount bracket. Wear the engine timing at TDC, recheck the marks on the timing belt and if the belt is reusable, place a stripe across it. Disassemble the tensioner nut and take out the timing belt, before doing that check on the belt for cracks and on the tensioner for signs of oil seepage. Safely wash the timing belt surface, put the camshaft sprocket(s) on and ensure that both camshaft sprockets are lined up in terms of the marks. For the 2.7 L engine, push down compressing the timing belt tensioner push rod, fix it in position and position the timed belt around the sprockets and pulleys as laid down. For 3,5L engine, put all sprockets and pulleys, and keep the engine in TDC position and make the marks are the same before compressing the tensioner pushrod and install it. Check that all the marks on sprockets are correctly aligned, remove the pin from the tensioner and rotate the crankshaft 7200 through two complete revolutions and ensure that the timing marks are aligned again. If misaligned, repeat the installation procedure, and do not start the engine until it is sure of proper installation so that severe damage is not done. Lastly, allow the engine to cool at TDC on idle for 300 seconds and compare the protrusion of the tensioner rod; the final step includes the removal of all the parts in reverse order.
