×
- Live Chat
- 1-888-788-8214


My Garage
My Account
Cart
Genuine Hyundai Excel Shift Cable
Transmission Shift Cable- Select Vehicle by Model
- Select Vehicle by VIN
Select Vehicle by Model
orMake
Model
Year
Select Vehicle by VIN
For the most accurate results, select vehicle by your VIN (Vehicle Identification Number).
5 Shift Cables found
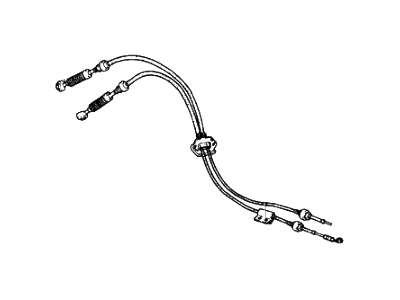
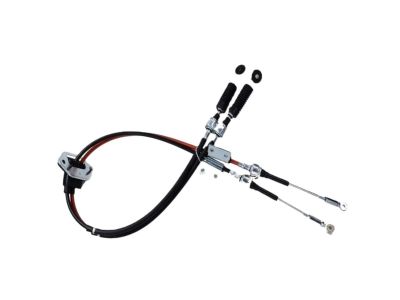
Hyundai Excel Manual Transmission Lever Cable Assembly
Part Number: 43794-24003$141.35 MSRP: $194.03You Save: $52.68 (28%)Ships in 1-3 Business DaysHyundai Excel Automatic Transmission Lever Cable Assembly
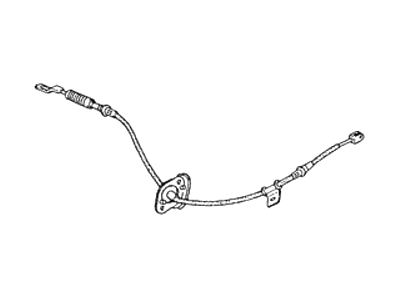
Part Number: 43760-24701$67.53 MSRP: $92.69You Save: $25.16 (28%)Ships in 1-3 Business DaysHyundai Excel Automatic Transmission Lever Cable Assembly
Part Number: 43760-24705$67.53 MSRP: $92.69You Save: $25.16 (28%)Ships in 1-3 Business DaysHyundai Excel Automatic Transmission Lever Cable Assembly
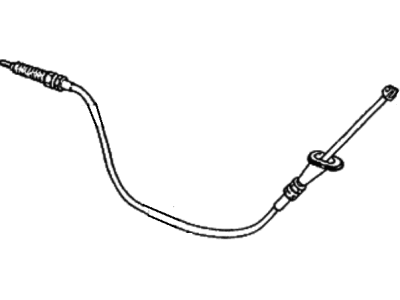
Part Number: 43760-21700$36.52 MSRP: $49.50You Save: $12.98 (27%)Ships in 1-3 Business Days
Hyundai Excel Shift Cable
If you are looking for affordable high-quality OEM Hyundai Excel Shift Cable, then you have come to the prime place. Our website provides a large amount of genuine Hyundai Excel Shift Cable at unbeatable prices. All our parts come backed with the manufacturer's warranty.
Hyundai Excel Shift Cable Parts Questions & Experts Answers
- Q: How to remove, insatall, and adjust the shift cable assembly on Hyundai Excel?A: To remove the shift cable assembly, first disconnect the negative cable from the battery and, for carbureted models, remove the air cleaner assembly. In the engine compartment, disconnect the shift cable at the bracket and transaxle lever, noting the differences in attachment methods between 1989 and earlier models and 1990 and later models. Raise the vehicle and support it securely on jackstands, then remove the shift cable assembly mounting bolt and nuts from underneath. Next, remove the selector lever assembly mounting nuts, and inside the vehicle, take out the handle set screw or screws depending on the model year. For earlier models, grasp the selector lever handle, press the lockout button, and pull up sharply to remove it; for later models, disconnect the overdrive switch connector, drive out the connector pins, and then remove the handle. Remove the shift lever indicator and center console, disconnect the shift cable, and take out the selector lever assembly. To install, place the selector lever assembly and secure the mounting nuts, then install the shift cable and connect it to the firewall, transaxle, and selector lever, ensuring the toothed washer is correctly positioned for 1994 and earlier models. For adjustment, place the selector lever in Neutral and turn the lever adjusting sleeve to achieve the specified sleeve-to-lever end clearance, ensuring the angled surface faces the driver's side after adjustment, and apply a small amount of multi-purpose grease. Install the console and selector lever handle, eliminate any slack in the shift cable if necessary, and check the operation of the transaxle in each selector lever position, ensuring the starter operates only in Park and Neutral, adjusting the Neutral start switch if needed.


