×
- Live Chat
- 1-888-788-8214


My Garage
My Account
Cart
Genuine Hyundai Elantra Flywheel
Clutch Flywheel- Select Vehicle by Model
- Select Vehicle by VIN
Select Vehicle by Model
orMake
Model
Year
Select Vehicle by VIN
For the most accurate results, select vehicle by your VIN (Vehicle Identification Number).
16 Flywheels found
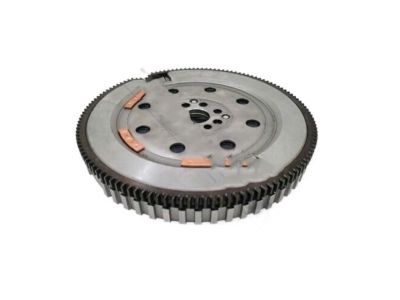
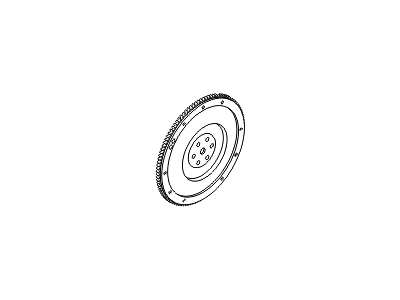
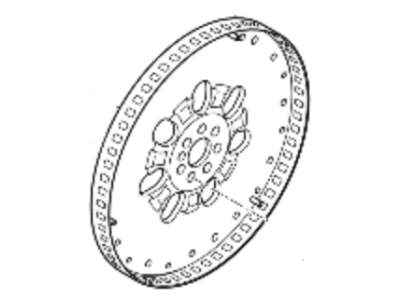
Hyundai Elantra Flywheel-Dual Mass
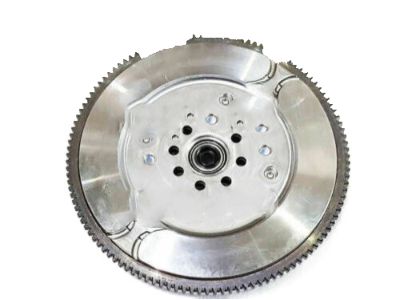
Part Number: 23200-03950$397.89 MSRP: $563.94You Save: $166.05 (30%)Ships in 1-3 Business DaysHyundai Elantra FLYWHEEL Assembly
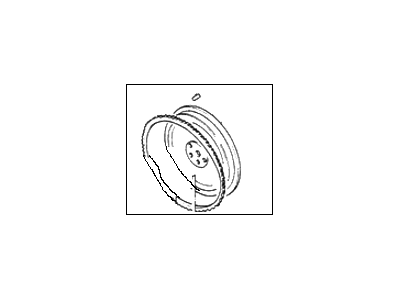
Part Number: 23260-2B710$576.29 MSRP: $816.79You Save: $240.50 (30%)Ships in 1-3 Business DaysHyundai Elantra FLYWHEEL Assembly
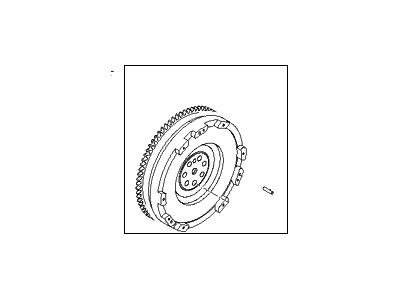
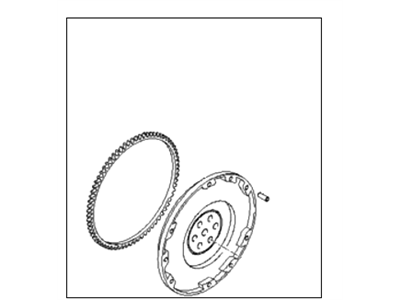
Part Number: 23200-2E400$260.79 MSRP: $366.40You Save: $105.61 (29%)Ships in 1-3 Business DaysHyundai Elantra FLYWHEEL Assembly
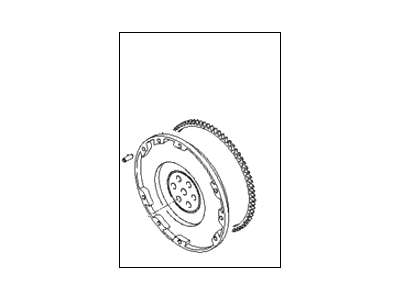
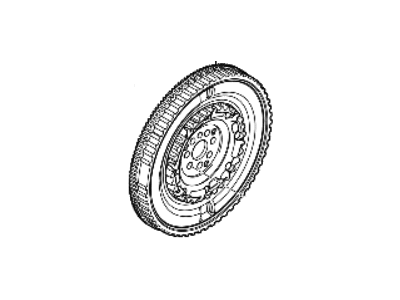
Part Number: 23200-23700$260.79 MSRP: $366.40You Save: $105.61 (29%)Ships in 1-3 Business DaysHyundai Elantra Flywheel-Dual Mass
Part Number: 23200-2B590$397.89 MSRP: $563.94You Save: $166.05 (30%)Ships in 1-3 Business DaysHyundai Elantra FLYWHEEL Assembly
Part Number: 23200-23010$276.86 MSRP: $388.98You Save: $112.12 (29%)Ships in 1-3 Business DaysHyundai Elantra FLYWHEEL Assembly
Part Number: 23200-23610$260.79 MSRP: $366.40You Save: $105.61 (29%)Ships in 1-3 Business DaysHyundai Elantra FLYWHEEL Assembly
Part Number: 23200-2E000$260.79 MSRP: $366.40You Save: $105.61 (29%)Ships in 1-3 Business DaysHyundai Elantra FLYWHEEL Assembly
Part Number: 23200-2E401$260.79 MSRP: $366.40You Save: $105.61 (29%)Ships in 1-3 Business DaysHyundai Elantra FLYWHEEL Assembly
Part Number: 23200-23210$276.86 MSRP: $388.98You Save: $112.12 (29%)Ships in 1-3 Business DaysHyundai Elantra FLYWHEEL Assembly
Part Number: 23200-33000$301.35 MSRP: $423.39You Save: $122.04 (29%)Ships in 1-3 Business DaysHyundai Elantra FLYWHEEL Assembly
Part Number: 23200-33010$301.35 MSRP: $423.39You Save: $122.04 (29%)Ships in 1-3 Business DaysHyundai Elantra FLYWHEEL Assembly
Part Number: 23200-32500$311.53 MSRP: $437.69You Save: $126.16 (29%)Ships in 1-3 Business DaysHyundai Elantra FLYWHEEL Assembly
Part Number: 23200-2M700$593.76 MSRP: $841.55You Save: $247.79 (30%)Ships in 1-3 Business DaysHyundai Elantra FLYWHEEL Assembly
Part Number: 23200-2M500$868.03 MSRP: $1241.18You Save: $373.15 (31%)Ships in 1-3 Business DaysHyundai Elantra Flywheel-Engine Clutch
Part Number: 23290-03400$148.33 MSRP: $203.61You Save: $55.28 (28%)Ships in 1-3 Business Days
Hyundai Elantra Flywheel
If you are looking for affordable high-quality OEM Hyundai Elantra Flywheel, then you have come to the prime place. Our website provides a large amount of genuine Hyundai Elantra Flywheel at unbeatable prices. All our parts come backed with the manufacturer's warranty.
Hyundai Elantra Flywheel Parts Questions & Experts Answers
- Q: How to remove, inspect, and insatall the flywheel/driveplate on Hyundai Elantra?A: To remove the transaxle, raise the vehicle and support it securely on jackstands, then proceed with the removal. For vehicles equipped with a manual transaxle, take off the pressure plate and clutch disc, ensuring to inspect the clutch components during this process. Make alignment marks on the flywheel/driveplate and crankshaft using a center punch or paint to guarantee correct alignment upon reinstallation. Remove the bolts securing the flywheel/driveplate to the crankshaft, and if the crankshaft rotates, jam it by wedging a screwdriver in the ring gear teeth. Carefully take off the flywheel/driveplate, supporting it while removing the last bolt, and remember that automatic transaxle vehicles have spacers on both sides of the driveplate, which should be kept with it. Inspect the crankshaft rear seal and replace it if leaking before reinstalling the flywheel/driveplate. Clean the flywheel to eliminate grease and oil, checking for cracks, rivet grooves, burned areas, and score marks; light scoring can be addressed with emery cloth. Examine the ring gear for any cracked or broken teeth, and if damaged, replace the flywheel or have a new ring gear pressed onto it. Lay the flywheel on a flat surface to check for warpage using a straightedge, and if excessive, consider resurfacing or replacing it, ideally having it inspected by a competent automotive machine shop. Clean and inspect the mating surfaces of the flywheel/driveplate and crankshaft before positioning the flywheel or driveplate and spacers against the crankshaft, aligning the previously made marks. Some engines may have an alignment dowel or staggered bolt holes for correct installation. Apply thread-locking compound to the bolt threads before tightening them in a criss-cross pattern, gradually working up to the final torque in three or four steps. Finally, install the transaxle and lower the vehicle.
Related Hyundai Elantra Parts
Browse by Year
2023 Flywheel 2022 Flywheel 2021 Flywheel 2020 Flywheel 2019 Flywheel 2018 Flywheel 2017 Flywheel 2016 Flywheel 2015 Flywheel 2014 Flywheel 2013 Flywheel 2012 Flywheel 2011 Flywheel 2010 Flywheel 2009 Flywheel 2008 Flywheel 2007 Flywheel 2006 Flywheel 2005 Flywheel 2004 Flywheel 2003 Flywheel 2002 Flywheel 2001 Flywheel 2000 Flywheel 1999 Flywheel 1998 Flywheel 1997 Flywheel 1996 Flywheel 1995 Flywheel 1994 Flywheel 1993 Flywheel 1992 Flywheel 1991 Flywheel
