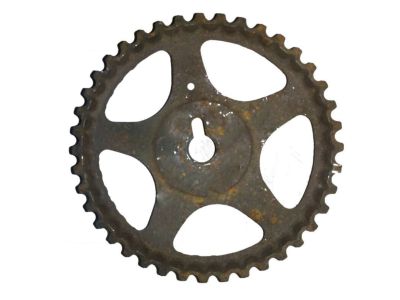
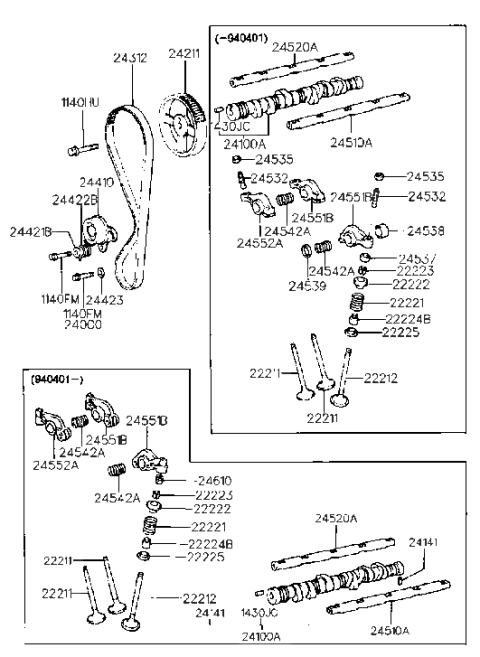
The timing system is complex, and severe engine damage can occur if mistakes are made, so only highly experienced individuals should attempt this procedure; if unsure, consulting an expert is advised. If the timing belt failed while the engine was running, an engine compression check is necessary to confirm any valve damage. Disconnect the negative battery cable, remove the air cleaner assembly and hoses on carbureted models, set the parking brake, block the rear wheels, and securely raise the front of the vehicle on jackstands. Remove the left engine mount, loosen the water pump pulley bolts, and remove the drivebelts before unbolting and removing the water pump pulley. Remove the splash pan and the crankshaft pulley bolts, noting that on later models, the crankshaft pulley can be removed without taking off the crankshaft sprocket bolt unless replacing the oil seal or oil pump. To loosen the large center bolt on the crankshaft pulley, use a rag and chain wrench, and if it slips, have an assistant wedge a screwdriver in the flywheel/driveplate ring gear teeth after removing the cover. Remove the bolts retaining the timing belt cover(s) and then temporarily install the crankshaft sprocket bolt, rotating the crankshaft clockwise until the timing marks align. Loosen the adjusting bolt and move the timing belt tensioner towards the water pump, securing it temporarily. On some models, unbolt the engine mounting bracket before removing the timing belt, then slip it off the sprockets without altering their positions. To remove the camshaft, take off the camshaft sprocket bolt and pull the sprocket off, using a screwdriver to prevent it from turning. For replacing the crankshaft front oil seal, remove the crankshaft sprocket bolt and the sprocket, using a puller if necessary, and note the installation orientation of the timing belt guide flange. Inspect the tensioner pulley for roughness or play, and check the timing belt for any signs of damage or contamination, replacing it if necessary. Before starting the engine, rotate the crankshaft by hand through at least two full revolutions, checking for resistance that may indicate a problem. Reinstall the timing belt sprockets, ensuring the camshaft sprocket is indexed correctly, and align the timing marks with the No. 1 piston at top dead center. Slip the timing belt onto the crankshaft sprocket, maintaining tension while placing it onto the camshaft sprocket, and recheck the alignment of the sprocket timing marks. Install the crankshaft pulley and bolts, tightening them securely while holding the crankshaft. Loosen the tensioner spring hold-down bolt and adjustment bolt to allow spring tension against the belt, then check the belt position and tighten the bolts in order. Rotate the crankshaft clockwise one full turn, then loosen the tensioner bolts and check the timing marks again, repeating if necessary. Check the timing belt tension by pressing on it; it should deflect to a quarter of the adjuster bolt head width, adjusting if necessary. Tighten the tensioner bolts to the specified torque, reinstall the remaining parts in reverse order, and start the engine, setting the ignition timing before road testing the vehicle.
Posted by HyundaiPartsDeal Specialist 

