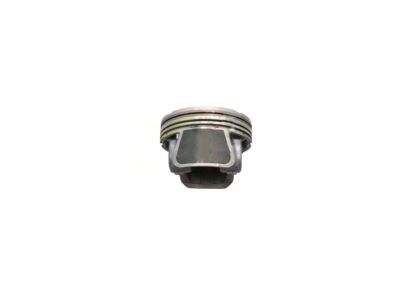
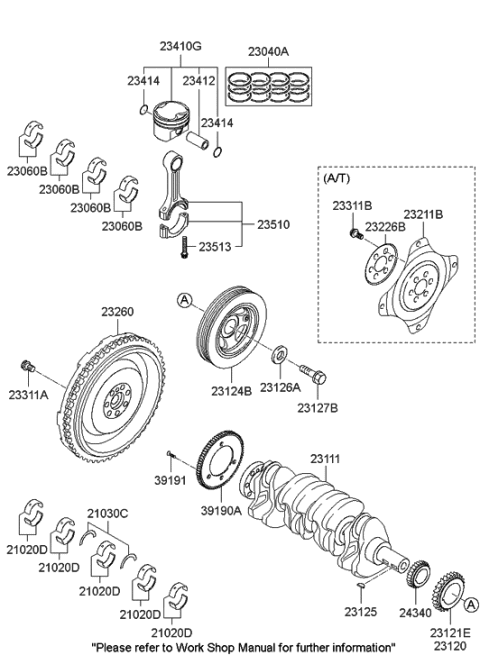
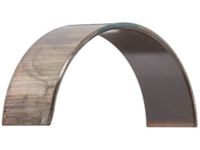
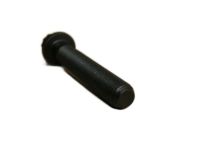
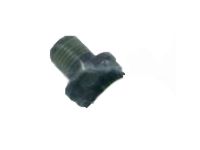
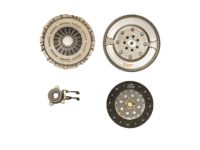
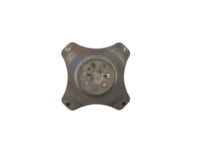
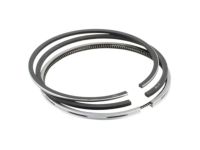
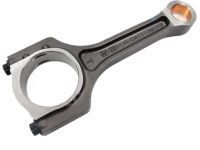
Before the assemblies of the piston and connecting rods can be taken off, the heads of the cylinder, the oil pan, upper oil pan, for 4-cylinder engines the balance shafts or the balance shaft module need to be deleted. First, look for any ridge at the top end of ring travel in that cylinder, and if any, it has to be scrapped out radically with the help of the ridge reamer to avoid piston crackage. Next, rotate the engine in order to align the crankshaft vertically and then unbolt and take off the top oil pan or baffle and main bearing cap bridge depending on the make of the engine. The connecting rod end play should also be measured with the feeler gauges, checking that it does not exceed the service limit; if it does, worn connecting rods may be required. Locate the connecting rods and the one with markings on it, then make a slow turn on capping bolts or nuts until they come out. Withdraw the connecting rod/piston assembly from the top end of the engine by striking the flat of the connecting rod. To preserve the journals of the crankshaft, do not use a metal hammer when removing or reinstalling the connecting rod. If resistance is felt, it must be confirmed that the ridge has been cleared all the way back to the artery wall. This is done for the rest of the cylinders and after removal of the caps replacement is done with reassembly of the connecting rod caps and bearing inserts on their respective rods with the old insert in place to avoid damage. When replacing piston rings, make certain the end gaps of the rings are correct; the side of the piston ring should be properly cleared. Position the pistons/connecting rods and the new rings in such a way that they will be placed together during the assembly. Take the top ring with the small end propped up against the cylinder wall and slip it over the first cylinder, use feeler gauges to measure the end gap. It is advisable to carefully file the ring ends if the gap is too small while excess gap is only serious if it measures more than about 0.030-inch. Then do this for each ring in all cylinders, but make sure there is proper matching, or else it could be detrimental. After the end gaps have been examined and adjusted, place the rings on the pistons, with the oil control ring going in first, then the middle and finally the top ring, recording the correct installation of the rings. Before installation it is required that the cylinder walls should be free from debris, the top edge of each cylinder bore should be chamfered and the crank shaft should be in the engine. Take off the cap from the number one connecting rod, as well as degrease the bearing surfaces and fit the new upper bearing insert dry. Wipe the rear face of the other bearing insert and assemble this into the rod cap with both faces clean and free from oil. Align the gaps of the piston rings beside the piston, apply clean engine oil on the piston and the rings, and finally fix a piston ring compressor. Snap the number one bore's bottom dead center with number one connecting rod journal crankshaft, lubricate the cylinder wall with oil, and gently place the piston/connecting rod assembly back into the engine block. Place the ring compressor on the block, and use the fingers to make contact with the block while gently striking the piston and placing the connecting rod over it. The Plastigage should be fitted and the oil clearance of the connecting rod bearing should be checked by noting the width of the crushed material on the scale. If it is still not at the specified clearance, cleanliness should also be checked before proceeding to the decision about the new bearing inserts and comparing it with the journal diameter. If there is any Plastigage left on the bearing faces, it must be removed and replaced with a thin, even layer of moly-base grease or engine assembly lube, after which the rod should be placed back in its previously rightful position and the cap and bolts should be reinstalled and tightened to the required toque. Perform the same for the rest of the assemblies with regards to cleanliness and proper orientation in the direction. Last but not the least, turn the crankshaft clockwise to determine whether it is binding or not; and recheck the measuring of the connecting rod end play and shim it accordingly, if new parts are fitted in the crankshaft.
Posted by HyundaiPartsDeal Specialist 

