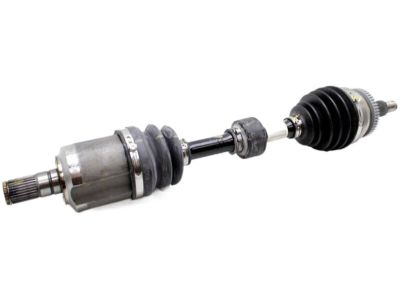
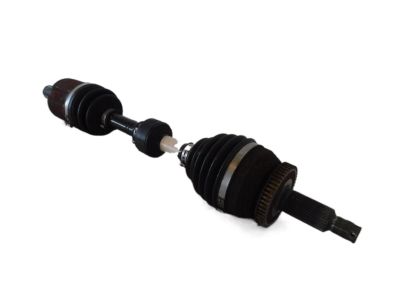
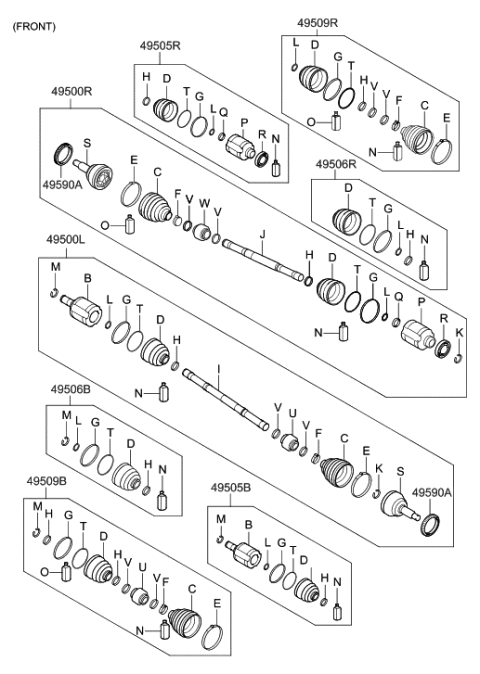
To remove the front axle shaft, start by taking off the wheel cover or hubcap, then remove the cotter pin and loosen the axle shaft/hub nut with a long breaker bar, followed by loosening the wheel lug nuts. Raise the vehicle securely on jackstands and remove the wheel. Drain the transaxle lubricant, disconnect the wheel speed sensor and brake hose assembly, then remove the two bolts from the lower strut and steering knuckle, pulling the knuckle free of the strut. Swing the knuckle/hub assembly out until the end of the axle shaft is free; if the splines stick, tap the end of the axle shaft with a plastic hammer and support it with wire to avoid strain on the inner CV joint. Carefully pry the inner end of the axle shaft from the transaxle using a large screwdriver or prybar, supporting the CV joints as you remove the axle shaft. For installation, pry off the old spring clip from the inner end of the axle shaft and install a new one, lubricate the differential or intermediate shaft seal with multi-purpose grease, and raise the axle shaft into position while supporting the CV joints. Insert the splined end into the differential side gear, ensuring the spring clip locks in its groove with the gap facing down. Apply grease to the outer CV joint splines, pull out on the strut/steering knuckle assembly, and install the stub axle into the hub. Reconnect the balljoint to the lower control arm and tighten the nuts according to torque specifications. Install the axle shaft/hub nut with the convex side of the washer facing out, tightening it securely but not to the actual torque specification until the vehicle is lowered. Ensure the axle shaft is seated securely in the transaxle, then install the wheel and lug nuts, lower the vehicle, and tighten the lug nuts and axle shaft/hub nut to the specified torque, installing a new cotter pin. Refill the transaxle with the recommended lubricant. For rear 4WD models, begin by removing the wheel cover or hubcap, raising the vehicle securely on jackstands, and removing the cotter pin and nut from the rear axle shaft/hub. Disconnect and lower the differential enough to pry the axle shafts out, supporting the inner ends with wire. Tap the axle shafts out of the hubs with a soft-face hammer while supporting their weight. For installation, pry off the old spring clip from the inner end of the axle shaft, install a new one, lubricate the end splines, and raise the axle shaft into position while supporting the CV joints. Insert the axle shaft into the hub and install the nut finger tight, then position the differential and insert the splined end into the differential side gear, ensuring the spring clip locks in its groove with the gap facing down. Complete the installation in reverse order, tightening the lug nuts and hub nut to the specified torque, and refill the differential with the recommended lubricant.
Posted by HyundaiPartsDeal Specialist