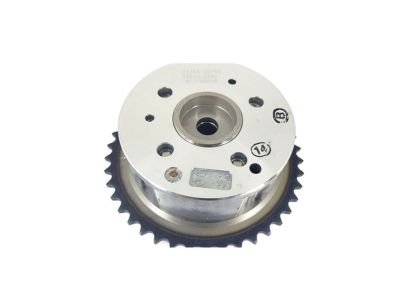
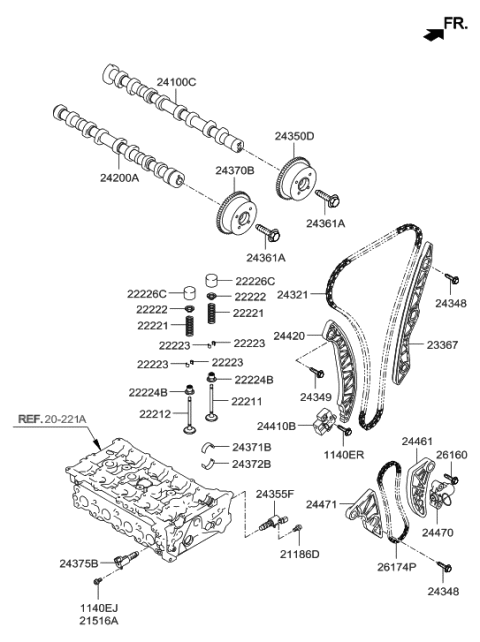
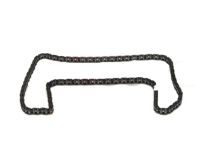
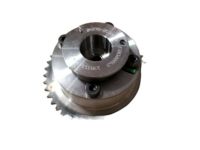
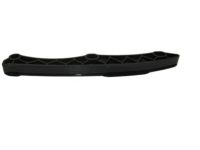
The timing system is complex, and severe engine damage will occur if mistakes are made. Only attempt this procedure if highly experienced with this type of repair; if unsure, consult an expert. Double-check all work and ensure everything is correct before starting the engine. Begin by disconnecting the cable from the negative battery terminal, loosening the lug nuts on the right front wheel, raising the vehicle securely on jack stands, and removing the right front wheel. Set the engine at TDC compression for cylinder number one, remove the right engine splash shield, and place a floor jack with a block of wood under the oil pan to take weight off the engine mounts. Remove the upper engine mount bracket, loosen the water pump pulley bolts, and remove the drive belt, tensioner, idler pulley, and alternator. Remove the air filter housing inlet duct and air filter assembly, disconnect electrical connectors to the ignition coils, fuel injectors, and the CMP sensor, and remove the high-pressure fuel pump if applicable. Remove the water pump pulley, crankshaft pulley (holding it from turning), engine mount bracket from the timing chain cover, and valve cover. Remove lower bolts from the air conditioning compressor and the compressor mounting bracket. Support the engine to remove the jack from beneath the oil pan, then remove the oil pan, taking care not to rotate the crankshaft while the timing chain is removed. Temporarily place the crankshaft pulley onto the crankshaft to verify TDC, then remove the timing chain cover bolts and cover, laying out the bolts in order. Compress the plunger of the timing chain tensioner and secure it, then remove the tensioner, timing chain tensioner arm, and lift off the timing chain. Remove the timing chain guide if necessary, the timing chain oil jet mounting bolt and oil jet, and the crankshaft sprocket. Compress and remove the balance shaft chain tensioner, then remove the balance shaft chain tensioner arm and guide, unbolting the balance shaft module and removing it along with the chain. Visually inspect all parts for wear and damage, replacing the timing chain and balance shaft chain if necessary, and check all sprockets and tensioners for rough operation, grease leakage, and damage. Before starting the engine, carefully rotate the crankshaft by hand through at least two full revolutions, checking for resistance. Set the crankshaft so that the keyway aligns with the line where the engine block and bearing cap meet, aligning the marks on the balance shaft module with the cast marks on the housing. Align the colored link of the balance shaft chain with the mark on the balance shaft module sprocket, install the balance shaft module, and tighten the bolts. Install the chain guide, tensioner arm, and tensioner, pulling the pin to allow the rod to extend, then verify that the colored links and timing marks are aligned properly. Install the timing chain sprocket and oil spray nozzle, ensuring the crankshaft key is aligned with the block-contact surface of the front main bearing cap and that the camshaft sprocket marks are aligned with the top surface of the cylinder head. Install the timing chain guide, then put the timing chain on with the colored links aligned with the sprocket marks, ensuring no slack between the sprockets. Install the tensioner arm and tensioner, pulling the pin from the tensioner, and rotate the crankshaft clockwise two complete turns by hand, checking for resistance. Clean all sealing surfaces of the timing cover and engine, apply RTV sealant where necessary, set the timing chain cover in place, and tighten all bolts. Install the crankshaft oil seal, tapping it into place, and complete the installation by reversing the removal steps.
Posted by HyundaiPartsDeal Specialist 

