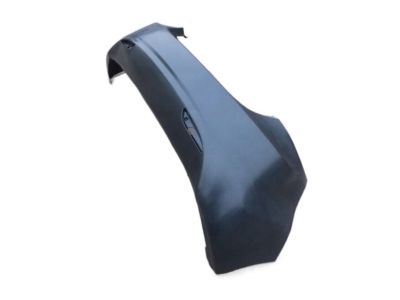
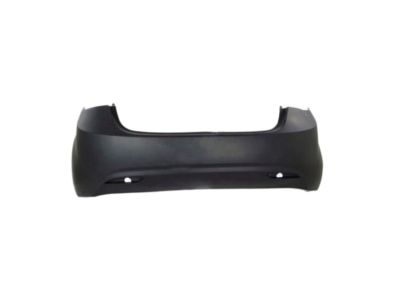
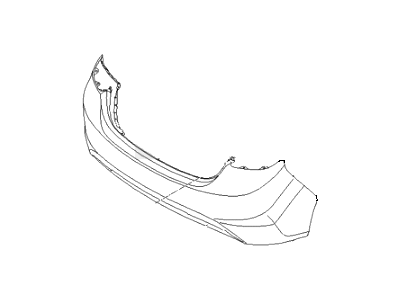
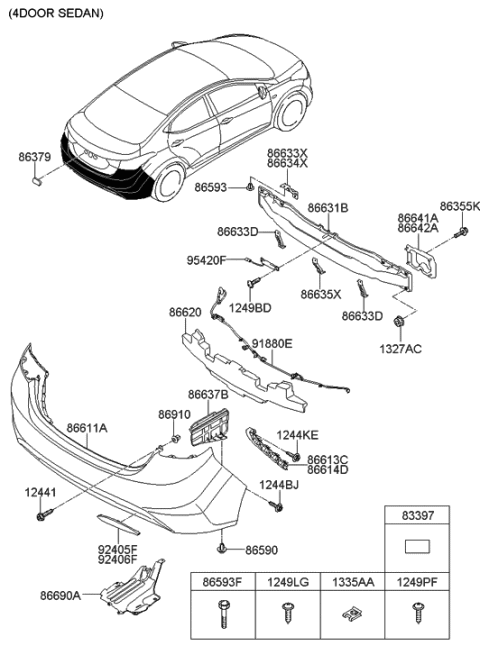
To safely detach the front bumper, perform the underneath of the car, put a parking brake on, and use jackstands to keep the car securely raised. Loosen the fitting where the negative terminal of the battery connects, followed by the positive terminal, and wait for not less than two minutes. For the year 2006 and earlier models, unscrew the retaining screws to the air deflector and the upper side of the bumper, although, the models with production between 2004 and 2006 has additional boltages on each side of the grille and three on each end of the bumper cover. Only the turn signal light or headlight housings need to be opened before the screws that connect the lower part of the bumper cover are to be unscrewed; however, it should be noted that 2004 through 2006 models only use four plastic pushpins on the bottom part of the bumper cover. Once this has been removed, the next action is to unscrew the retaining bolts/nuts to pull off the bumper assembly based on the model's type. In installation, the access now goes backwards to removal, guaranteeing that all alignment tabs sink into the notches they were carved for. On the 2007 and newer models, physically access the hood, and detach the pins located near the center of the bumper cover; the number of them differs according to the car model. Lift up the vehicle, provide suitable standing for the vehicle and then, take out the lower engine splash, and the lower fasteners of the bumper cover. Take off the bolts at the upper rear of the car, look for and undo the electrical wiring and then detach the bumper with the help of a partner. For the rear bumper with regards to the 2006 and earlier models, one has to lift the rear of the vehicle in case it is needed, thereafter remove the retaining screws around the specific wheel wells and the edges of the bumper cover to be in a position to acces the rear bumper bolts. On station wagons, the rear window washer fluid reservoir prevents easy access, so it should be removed. Remove the bumper and cover assembly by pulling it and guiding it out and away from the vehicle; installation is done in the opposite manner to the removal process. For the subsequent 2007 and the subsequent years models, the only way to proceed is to first loosen the lug nuts of the rear wheel, then lift the car and bracket the back wheel off. Popor the trunk or liftgate to detach the opening trim followed by the interior trim and the fasteners for taillights if the wiring has to be removed. Three screws are to be taken out from under each taillight housing, three clips from the bottom of the bumper cover and five fasteners from the rear part of the fender liners. It is recommended to remove the bumper cover safely and, of course, the installation process is in the inverse sequence.
Posted by HyundaiPartsDeal Specialist 

