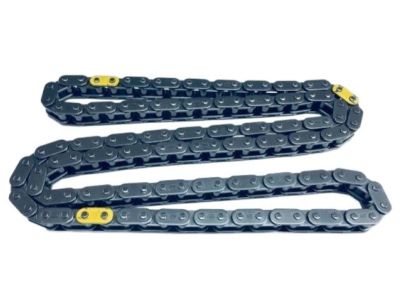
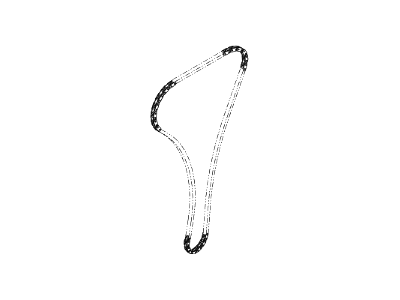
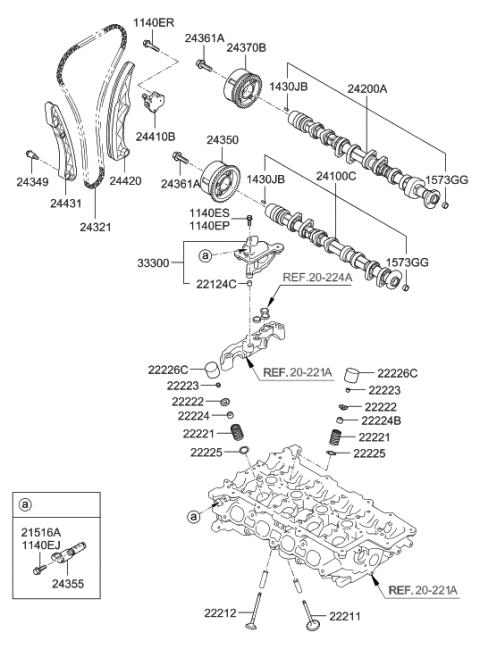
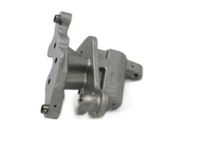
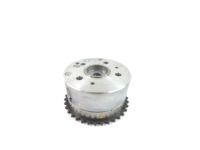
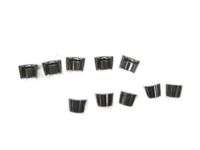
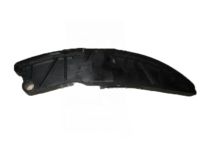
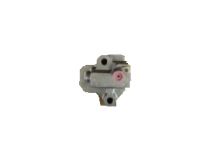
To start the removal process, eliminate fuel system pressure and disconnect the cable on the terminal of the battery's negative end. Align the mark on the top of the unit to the number one piston TDC on the compression stroke while aligning the mark on the camshaft to the one on the valve cover. Subsequently, take off the drive belt, drive belt tensioner, idler pulley, and alternator. Remove the air filter housing inlet duct, the air filter and apply a safety jack to lift the car and support it on jack stands to remove the lower engine cover as well. Pull the electrical connectors of ignition coils, fuel injectors, oil control valves and Camshaft position sensor, afterwards, heavily tensioned high pressure fuel pump and PCV hose which are placed at the top of engine block. Dispose of the ignition coils , the valve cover, and turn off the engine to drain out the engine oil and coolant. Move on to the next step to take out the crankshaft damper/vibration damper, the pulley of water pump, and the water pump. Place some support under the engine, lift it a bit; then disconnect the engine mount from the right end of the engine then remove the mount. The timing chain cover bolts should be removed followed by the cover, and it is recommended that all the bolts should be placed in sets. Ensure that the engine is still on TDC for cylinder no.1, making sure that the crankshaft key lines up with the main bearing cap. Tilt the pawl to set it slightly above the tensioner rack top, push the plunger down, and screw the 3 mm Allen wrench in the plunger to maintain the pawl in that position. Head and exhaust bolts are to be extracted, then lower the tensioner and chain guide. Loosen the timing chain before pulling it from the sprockets; if the original chain is being used, rotate the crankshaft to TDC and indicate the positions of the chain and sprockets. Now, you have unscrew the timing chain guide and the chain tensioner arm bolts; after that, you remove both guides together with the timing chain from the sprockets. Withdraw the crankshaft chain sprocket and, if needed, the camshaft sprockets by means of the loosening of the CVVT center bolt with the lug on the camshaft in position. Check all parts for signs of wear and tear, any part that is distorted or has rough edges, cracks, or chips should be replaced especially if the engine has high mileage. Also, examine the belt tensioner for signs of leakage as well as wear. Prior to turn on the engine switch to 'on' position and turn the crankshaft by exerting hand for at least 2 full revolutions if there is any pointer of resistance felt. Scrape off old gasket and sealant using a plastic gasket scraper on the cover, engine block, and cylinder head, and clean the sealing surfaces with rubbing alcohol. In the crankshaft sprocket, place the dowel pin right at 3 degrees in the clockwise position according to the upright position, and the timing mark must also be placed right at the 5 o clock position. Ensure that the intake and exhaust camshaft marks of the CVVT sprockets are upright to the top surface of the cylinder head as well as the installation of the right side timing chain guide and tighten the bolt on the sprocket. Tuck it through the timing chain under the crankshaft sprocket, around the intake CVVT sprocket, and over the exhaust CVVT sprocket making sure that the colored links are against the timing marks. Put the inner tensioner with the pulley on the left of the mounting bolt, and locate the primary chain guide and tensioner and fasten everything tightly. Ensure that all the timing marks coincide with each other and revolve the engine for two full rotations to be certain. A bead of RTV sealant has to be spread on the sealing surface of the cover, then, the timing chain cover must be properly fitted before the bolts are alternately tightened. Subsequently, the repeated remaining order of the installation pertains to the removal procedure. Last of all, pour oil and coolant, switch on the engine and look for engine and fluid leakages.
Posted by HyundaiPartsDeal Specialist 

