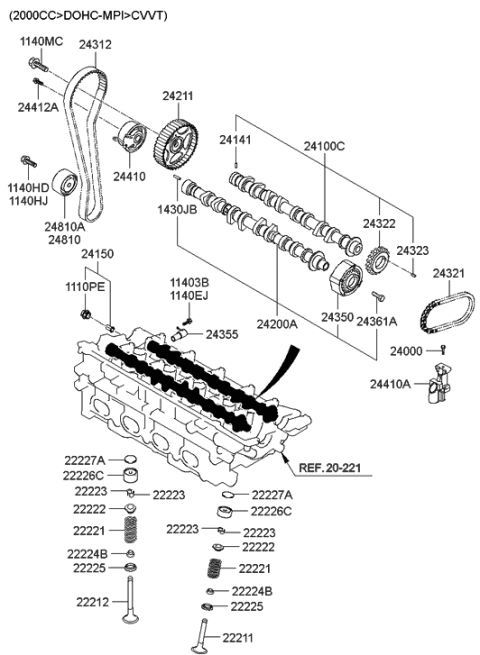
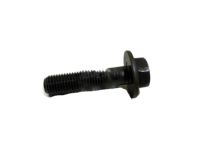
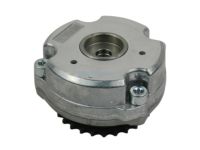
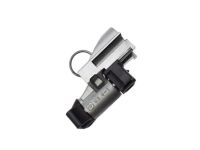
To remove the components, you will have to firstly separate the cable from the negative terminal of the battery, undo the lug nuts of the right front wheel, lift the vehicle properly with jackstands and finally, take off the right front wheel. Turn the engine at the position (TDC) compression for the cylinder number one, and then, the removal of the lower and right side splash shields. Remove the engine coolant and oil, and for the 2013 and later 1.8L and 2.0L vehicles the oil pan should be removed while some 2011 through 2016 1.6L vehicles the oil pan may not have to be removed to allow for the taking off of the timing chain cover. For 2011 and later 1.8L and 2.0L MPI models, remove the water pump pulley bolts and then take off the drivebelt and the alternator, for 1.6L remove the bolts of the alternator bracket and the bracket itself. Take off the idler pulley bolt and the idler pulley from the timing chain cover. For the 1.8L with production through 2013 and 2.0L GDI with production through 2014 through 2017, disconnect and re-engage the air conditioning compressor mounting bolts without disconnecting the refrigerant lines. For the 1.0L or 1.4L engines produced from 2017 or later model year, for a 2.0L mechanism, you must remove the CVVT actuator that's situated on the timing chain cover while in the 1.4L, you have to remove the oil control solenoid valve located on the front cover. Place the vehicle on a jack-stand and support with a wooden block on the oil-pan or lower crank-case to take a little weight off the engine-bearings, if needed unbolt the upper engine mount bracket. Untighten the air filter housing inlet duct and air filter assembly, disconnect the electrical connector to the ignition coils, fuel injectors, Oil control valves and Camshaft position sensors from TOP of the engine. For 2011 and later 1.8L models, 2017 and later 2.0L MPI models, and 1.4L models, first remove the water pump pulley then release the two bolts of the engine front lifting eye bracket. While unscrewing the bolt, support the pulley and take off the engine mount bracket away from the front of the timing chain cover. Then with the crankshaft pulley temporarily set on the crankshaft and the engine still at TDC the TDC marks on the camshaft sprockets should be flush with the top of the cylinder head. Otherwise, rotate the crankshaft anti-clockwise by one revolution and re-check with knowledge that on 1.4L vehicles, the timing marks on the chain are temporary and require the maker to be made. The timing chain cover bolts and the cover should be also removed, and it will be necessary to lay down the bolts in sets because they must be reinstalled in the exact order. Ensure that when installing the crankshaft dowel its position is similar as that of the removed one to avoid interference with the piston-valve. Squeeze the plunger of the timing chain tensioner, use drill and steel pin for hold That plunger, then end the bolts and remove tensioner of the timing chain. Take off the timing chain tensioner arm by loosening the mounting bolt and removing the arm; this will expose the timing chain for removal and if need be, the timing chain guide can also be removed. Perform a visual check on all aspects of the engine for signs of wear or physical damage and if the timing chain and sprockets show wear or if they are damaged in any way they should be replaced. Don't attempt to start your car and turn the key till the crankshaft is turned by hand for a minimum of two rotations to check for resistance. Rather the crankshaft position should be adjusted to accommodate for the rotation of the intake CVVT sprocket now; the chain guides should now be fitted and ensure that the timing mark on the crankshaft sprocket is in the correct alignment. Position the timing chain over the crankshaft sprocket, making sure that the colored link is opposite the mark and place the timing chain over the intake and exhaust CVVT sprockets, with no play. For 1.4L models, first CVVT sprockets should be placed on the cylinder head surface and make sure the marks are well aligned. Take the tensioner and securely fasten the bolts before checking that the coloured links are in the right position and the timing marks as well. Clean all sides of sealing on the timing cover and the engine and apply RTV sealant if needed; install the timing chain cover and fasten all the bolts. Last, you have to fit the crankshaft oil seal and finish the assembly in the reverse fashion of disassembly.
Posted by HyundaiPartsDeal Specialist 


